I'm BACK and I bring some DIY with me. I'm so unbelievably proud and happy with this final result. I was scrolling through Pinterest (as I do often), and I saw a very beautiful wooden table. That's when my brain started going and I looked into my bedroom where I had 6 pallets underneath my mattress. I had used them as a 'bed frame' for the longest time and wanted to get rid of them at some point. I wanted to make a dinner table out of those old pallets....somehow. Let's start with the final result so you won't lose faith in me from the early stages!
I've never actually pulled apart a pallet before so I had NO IDEA what I was getting myself into. But oh man.... this is one of the most challenging things you can do to yourself. The nails in these pallets are about the length of my leg, and they're rusty and old etc. You get the picture. I think I spent at least 2-3 hours pulling 3 pallets apart - with help from my very lovely mum who is just as stubborn as I am. You can imagine the scene.. we were both standing on top of the pallet, with a crowbar in hand, slowly but loudly losing our minds. About half of the pallet was of no use to us since it had either snapped in half or it wasn't straight enough to be used as a plank for my table.
Part 1 was done. It took a long time and it was quite a workout, BUT WE DID IT. I now had a pile of wood that I had to measure and arrange the way I had envisioned.
I wanted to create a herringbone pattern, which required perfect measurements.
*Makes phonecall* "DAD????"
My very handy dad was so nice to bring the project into his workplace where he has a bunch of necessary equipment. He helped me measure and cut the pieces as well as assemble the entire thing. There is no room for mistakes here because there is no way I am breaking apart 3 more pallets. Ever again.
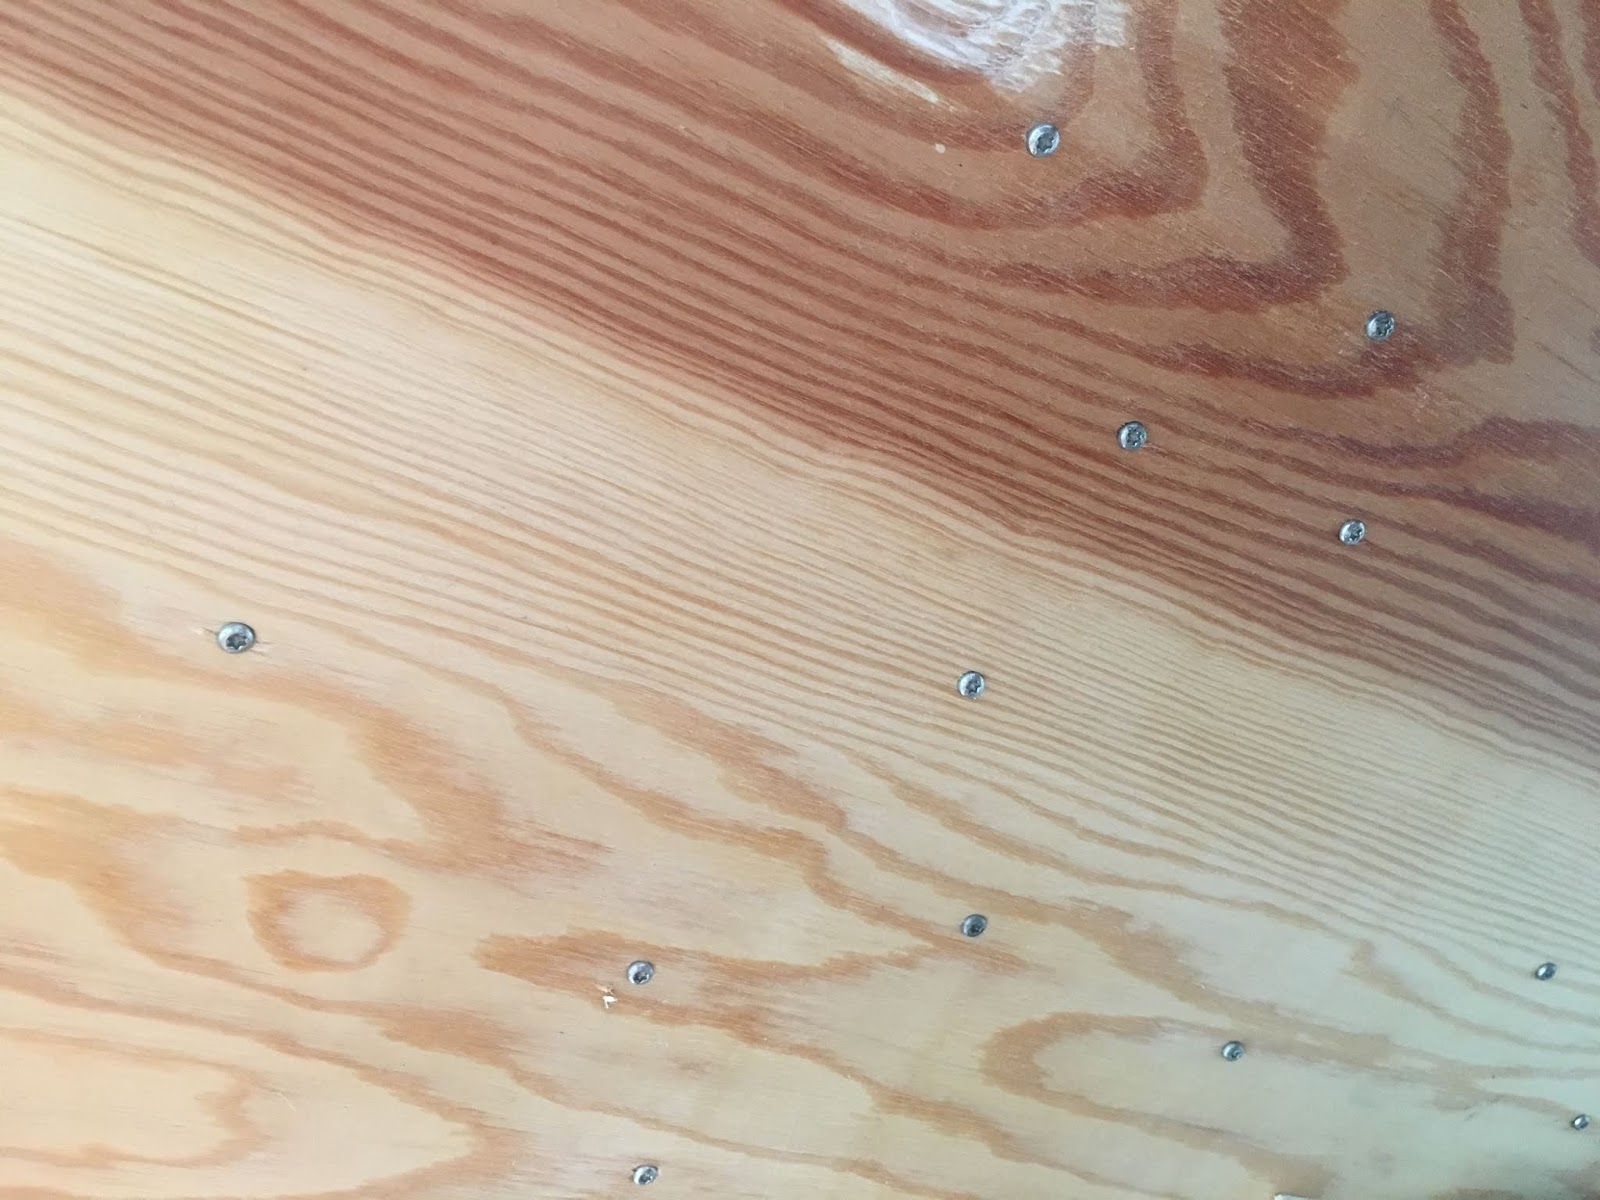
All the pieces had to be secured to some sort of surface because you can't just glue everything together.... So my dad found a big piece of plywood, we cut it to the desired table size, lay all the individual pieces onto it in the herringbone pattern, and we screwed each individual piece onto the plywood. Not only does this secure the pieces but it also straightens them out. Because pallet wood is so uneven and rough, you will always have some wonky pieces sticking out and by screwing them onto a surface, you straighten out most of it.
As you can see from the picture, the surface become a lot lighter and smoother looking because the first rough layer of the pallet wood was removed. I LOVE IT. In the picture below you can see that a lot of screws were used to secure the pieces.. but no one will see that side of the table anyway so it doesn't matter that it doesn't look great.
The last step was to create some sort of frame around the edges. This was not made with pallet wood because none of the pallets were long enough. So I found something else and boom. I mean, it's not perfect but I don't mind that it looks homemade.. because.. IT IS.. HOMEMADE.
Most people would probably use some sort of finishing lacquer but I really liked the colour of the raw wood and was afraid (still is) of ruining it by applying some oil or whatever.
The last but very important part of the table is the legs. I didn't have any nor any idea of how to create some what would be able to carry this very heavy table top. I knew I wanted some black metal legs, preferably in this very modern square shape. I went online to see if I could purchase some, but holy hell it's so expensive. Instead, I asked my dad if he knew someone who would potentially make me some for a less amount of money, and of course he did. He knows everyone. Within a week or two, I had two very beautiful, custom made, black painted iron legs to complete my DIY pallet table. HOW AMAZING!
Do you like the finished result? Would you apply some finish to it or leave it as it is? Let me know!!


No comments
Post a Comment